Getting started is sometimes the hardest part of writing, but WriteMapper's features can help you brainstorm your way through writer's block.
WRITEMAPPER IS A content writing productivity tool, designed to enable you to deliver deeper insights, create better solutions, and help more clients.
The app's features combine to create a writing workflow that breaks down the basic writing process into four parts, helping you get from idea to final draft in no time:
This User Guide serves to comprehensively lay out WriteMapper's features which apply to each of those four parts of this writing process, and serves as reference documentation for how the full abilities of the app may be best made use of.
Note: The contents of this guide have been written for the latest version of WriteMapper, which is version 4.
If you've gone through the in-app tutorial WriteMap and want to learn more, this User Guide is for you.
Getting started is sometimes the hardest part of writing. Let's dive into this User Guide by going over WriteMapper's features that can help you brainstorm your way through writer's block.
Working in a standalone desktop app lets you have more focus and productivity working outside of browser tabs.
Let's start off with how to get set up with the WriteMapper desktop app.

To install WriteMapper, first get it from the Downloads page on our website.
Next, install it on your computer. Please refer to this support article for installation instructions specific to your operating system.
The trial comes with a time-limited access to a fully functional WriteMapper app, letting you explore if the app is for you, without any feature restrictions.
Should you be eligible, it's also possible to request trial extensions beyond the initial 7-day trial period. Please see this support article on how you may perform such a request.
WriteMapper works on macOS and Windows. To know more about compatibility with your version of operating system, please see this support article on our website.
WriteMapper will automatically check for updates when you open it, and will prompt you if there is an update available.
More details on updating WriteMapper may be found at this support article on our website.
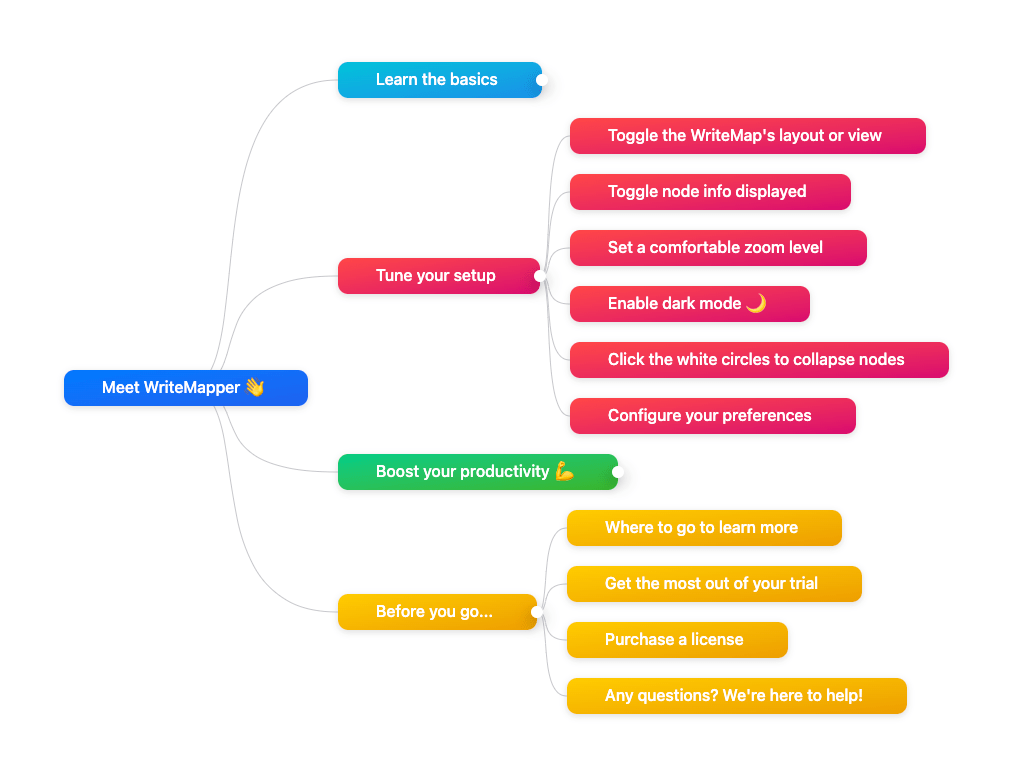
We know you're busy — the tutorial helps you learn the basics of WriteMapper and get going in less than five minutes.
To access the tutorial, open the WriteMapper app, then navigate to Menu Bar → Help → Open Tutorial WriteMap.
Tip: On Windows, the menu bar may be shown by clicking the little menu icon in the top-right hand corner of the WriteMapper app. On macOS, with the WriteMapper app active, the menu bar is located along the top edge of your screen.
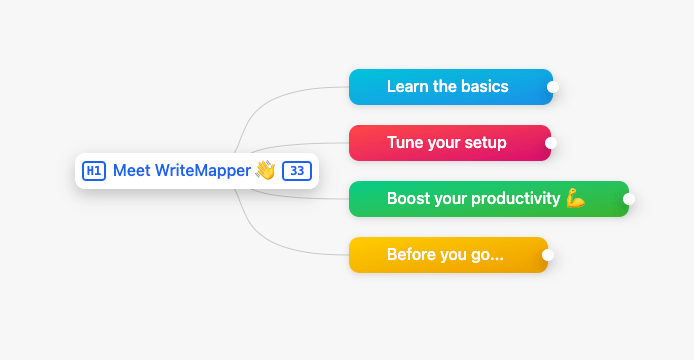
WriteMaps are logical and intuitive mind maps for writing. They help you approach your work methodically — start, outline, refine, and finish — giving you a writing workflow that multiplies your writing productivity.
Ideas are organized using a hierarchical mind map format. The root node makes for the title of your final document, and nodes each level down form the headings and sub-headings within the document.
This lets you break an idea down into bite-sized chunks, making it easier to start writing.
Each node on the mind map comes with a contents section for you to write in.
Putting mind maps and a content editor together, through focused software and user experience design, is what makes WriteMapper really great, giving you a highly productive writing experience.
A Quick Orientation
Keyboard shortcuts for the following features are denoted, as an example, like so:
Cmd/Ctrl+T. That is, on macOS, useCmd+T, and on Windows,Ctrl+T.For most of them, they are correspondingly also available via right-click menus, and from the menu bar.
Additionally, the more commonly used features are made available from the app's toolbar, located along the bottom edge of the app window.
To open a node's content editor, double-click a node in the mind map view. The corresponding keyboard shortcut is Cmd/Ctrl+E.
The editor itself will be covered in greater detail in Part 3 of the User Guide. For now, let's continue with the features that help you get started writing in WriteMapper.
Add Child Node
First, select a node in the mind map view by clicking the node. Then, pressing the Cmd/Ctrl+T keyboard shortcut will add a child node nested under the currently selected node. You may also do the same by clicking the leftmost toolbar button in the mind map view.
Quick Add Siblings
Again, begin by selecting a node. Then, press the Shift+Enter keyboard shortcut to add a sibling node.
Duplicate Nodes
Pressing the Cmd/Ctrl+D keyboard shortcut with a node selected will duplicate the node in the WriteMap.
Quick Edit Node Titles
Hold down the Shift key on your keyboard then clicking any node will let you edit its title in place. Pressing Enter achieves the same for the currently selected node.
To exit editing the node's title, press the Enter or Esc key, or simply click elsewhere on the WriteMap.
Tip: You can also specify how much of its title should nodes display before truncating the text, by configuring the "Maximum Node Width" setting in the Settings window (accessible from Menu Bar → Settings).
Editing Node Titles
You may also edit a node's title from within the node's content editor. Click on the title while in the content editor, and change the title to whatever you want. When you return back to the mind map, you'll see that the title has been updated here too.
Delete Single Node
For nodes that have no child nodes nested under them, deleting it removes that node as well as all the data within its contents.
To perform a deletion, select the node, then press Cmd+Delete on macOS, and Ctrl+Backspace on Windows. The delete action is also accessible through the toolbar's middle button.
Delete Node and Children
When you perform the same delete action on nodes that have children, the default behavior that will happen is also removing all the nodes nested under the node to be deleted as well.
Delete Parent Node Only
This removes a node while keeping its child nodes. Right-click the node and select the "Delete This Node Only" option.
After removing the node, the app will place any remaining child nodes where the original parent was attached.
This option is available on any node that has children, except for the mind map's root node.
Every once in a while, you might find yourself accidentally deleting some nodes you actually wanted to keep. Fret not, it's possible to undo mistakes in WriteMapper.
Cmd/Ctrl+Z will perform an undo, and Cmd/Ctrl+Shift+Z a redo.
This also applies to all actions within your working action history, including (but not limited to) making content edits, changing a node's title, and changing a node's location.
This undo/redo action history only exists within the in-app memory for your current working session, and doesn't carry over to a separate WriteMapper session, nor through your WriteMap files.
Now that you have a better understanding of what WriteMaps are and how they work, let's learn how to navigate them.
In the mind map view, the WriteMap essentially has unlimited boundaries — you may create as large a mind map as is required for your writing task at hand.
Scrolling
If using a trackpad, you may scroll as per normal to get around the mind map, both horizontally and vertically.
With a mouse, scrolling the mouse wheel will perform vertical scrolling. If you're using macOS, holding the Shift key while scrolling will scroll horizontally.
Drag to Pan
Besides scrolling, you may also drag the background of the mind map view around in order to pan the WriteMap.
That is, hover your pointer over the background (not over any nodes), click and hold that click without releasing it, and move the pointer around to perform a panning action.
Center Root Node
Press Cmd/Ctrl+Shift+0 in order to have the app position the root node in the center of the window, which could help you re-orientate your position in the WriteMap.
Tip: This feature, and many other of these navigation features, are available via the View menu in the app's toolbar, which is the second button from the right while in the WriteMap view.
Also, should you lose your place in the mind map, perhaps accidentally scrolling too far away such that no nodes are within view, a button with an arrow will appear in the center of the window.
The arrow is pointed towards the root node. Clicking it will return the WriteMap back into view.
As explained earlier, clicking on node will select it. Besides that, you may also use your arrow keys to select nodes.
The Left and Right arrow keys traverse the hierarchy of the mind map, while the Up and Down arrow keys traverse across sibling nodes.
When there are no nodes selected, pressing any arrow key will select the root note.
Pressing Esc will remove all node selections.
Setting Zoom Level
You may set the zoom level of the WriteMap via the View button's menu in the toolbar, or through the Cmd/Ctrl+Plus and Cmd/Ctrl+Minus keyboard shortcuts.
You may also use your trackpad or mouse wheel to set the zoom level. Perform the pinch gesture on a compatible trackpad, or hold the Ctrl key and scroll to zoom.
Reset Zoom Level
Cmd/Ctrl+0 resets the zoom level back to the original state.
You may rearrange nodes by dragging and dropping them anywhere in the WriteMap.
The drag's destination is indicated by a line that appears as you perform the drag. When you drag a node that has children, its nested notes get dragged along with it.
Drag and drop makes for a fluid and nimble content structuring experience, enabling you to first start anywhere you are inspired to, and then rearrange things later on.
Collapse & Expand
It's easy to create numerous nodes for your WriteMap, but may sometimes get visually overwhelming.
To help with that, for nodes that have children, click the white circular button on the left of the node in order to collapse and expand them.
Collapse / Expand All Nodes
Navigate to Menu Bar → Node → Collapse All Nodes to collapse all nodes in the mind map, leaving only the root node and its direct descendants visible.
Menu Bar → Node → Expand All Nodes will reverse that, making all nodes visible and on display.
Collapse Other Nodes
To focus on any particular node and collapse everything else, right-click it and select Collapse Other Nodes. The selected branch of the mind map will remain expanded, while everything else will be collapsed where possible.
Expand To Depth
Right-click the root note and select the option, Expand To Depth. Clicking any one of the listed options of H2 to H6 will cause the WriteMap to correspondingly be expanded to that depth only, collapsing all child nodes beyond the indicated depth in the content hierarchy.
View Node Info
When you hover your pointer over a node, some additional information is displayed on the left and right off the node's title.
By default, the nodes hierarchy level is displayed on the left, and its position relative to its siblings is displayed on the right.
Tip: You can press and hold the tilde
~key to reveal the node info of all nodes of the WriteMap at once.
Toggle Node Info
Instead of its position, you may display the information of the node's content's word count. To do so, right-click the WriteMap's background and click Toggle Node Info.
Set Default Node Info
In the Settings window, under the General tab, you may configure the Default Node Info setting to have it display the node's position or its content's word count by default.
We've introduced AI capabilities in the app, allowing you to leverage the capabilities of an AI assistant to brainstorm ideas and generate content in the course of your writing work.

WriteMapper's integrated Ask AI feature requires internet access to OpenAI's API in order to operate. You need to have an API key from OpenAI in order to use Ask AI.
For more detailed instructions on how to get going with the Ask AI feature, please refer to this support article on our website.
After you set up a valid OpenAI API key in WriteMapper, you can trigger Ask AI in the mind map view by right-clicking any node and selecting Ask AI..., or pressing the Cmd/Ctrl+J keyboard shortcut after selecting a node.
This reveals a menu with various commonly used prompts, such as "Brainstorm Ideas", "Summarize", "Explain", and "Continue Writing".
Besides these, you may also write your own custom prompt in the input box that appears above those options — you can literally ask the AI to perform any writing task you'd like it to! Then, press Enter or click the arrow button on the right to send your prompt to OpenAI, and await a response.
Your request will be processed by the AI with title of the selected node serving as background context.
After submitting your prompt, OpenAI takes a few seconds to do its thing, then it will reply with a response.
A new dialog appears with that response's text, along with a few options for using the text, including "Replace topic", "Add as child nodes", "Add as sibling nodes", and "Insert into contents".
You can also again ask the AI to process another prompt, and it'll use the response to generate an answer for you.
In the Settings window, under the Ask AI tab, there are a few more settings you may further configure in order to get the best of the Ask AI feature.
This includes the model which is used to process your AI prompts, as well as the all-important initial system prompt, which gives the AI an overall set of instructions for how to process your requests.
Last but not least, it can be easier to get started writing kicking off from an existing starting point. Here are some ways WriteMapper can help you to do that.
You can import existing documents to create a new WriteMap, instead of having to create one from scratch. File types you may import include OPML, MD, DOCX, and HTML.
To import one of these file types, go to Menu Bar → File → Open or Import, or press Cmd/Ctrl+O, just as you would opening a regular WriteMap file using the app.
The app parses the file you've imported, intelligently turning a linear document into a nested, structured mind map observing the hierarchy of its headings.
Importing from other file formats also categorizes node colors at the H2 level by default, helping with comprehension of the document's contents.
If you have a part of an existing WriteMap you'd like to turn into its own document, you can right-click that node and select New WriteMap From Node.
This will open the node in a new window, copying over all of that node's contents, as well as the details for all of the child nodes nested under it.
In this first part of the User Guide, we've covered the features and sub-features that help you get started writing in WriteMapper. In the second part, we'll cover the features that help you create a content structure.
WriteMapper is a software tool that uses mind maps to help you skyrocket your writing productivity.
Learn More User GuideWriteMapper
Support
Use Cases
Toggle Dark Mode
Apple, the Apple logo, Apple Watch, iPad, iPhone, and iPod touch are trademarks of Apple Inc., registered in the U.S. and other countries. WriteMapper is a product of BETTERWEBPAGES.
© BETTERWEBPAGES 2017-2024. All rights reserved.